Linea Voyage XP
What is Linea Voyage XP?
Similar to video games, where your character can gain experience points (XP) as you go through the game, Voyage XP represents your journey and experience in the Linea ecosystem. The Voyage XP tokens will be a custom version of ERC-20 and will be visible by default in your MetaMask wallet.
Voyage XP tokens are non-transferrable, soulbound tokens that are distributed to recognize the community’s extraordinary contribution toward the growth of the Linea ecosystem. They do not have any monetary value!
Apart from being a measure of contribution to building Linea into a robust and secure L2 network, Voyage XP will also make owners eligible for benefits such as receiving official community roles, exclusive Linea swag, and more!
To learn more about the Linea Voyage XP Program click here
Voyage XP are non-transferable and not bridgeable to other networks. You cannot buy, sell, or swap them, nor can you accumulate them by transferring from another wallet.
Contract Address
| Voyage XP Contract Address |
|---|
| 0xd83af4fbD77f3AB65C3B1Dc4B38D7e67AEcf599A |
Wallet Binding
Wallet binding allows you to aggregate your Voyage XP tokens to a single primary wallet. If you're navigating the Linea ecosystem with multiple wallets, choose one as your main hub to effortlessly accumulate all the Voyage XP you've earned. This ensures that every adventure is accurately recorded across your interconnected wallets, providing a seamless and comprehensive representation of your Linea experience.
Wallet binding is not retroactive. If you bind your wallet address after Voyage XP are received, then those won't be linked to the primary wallet!
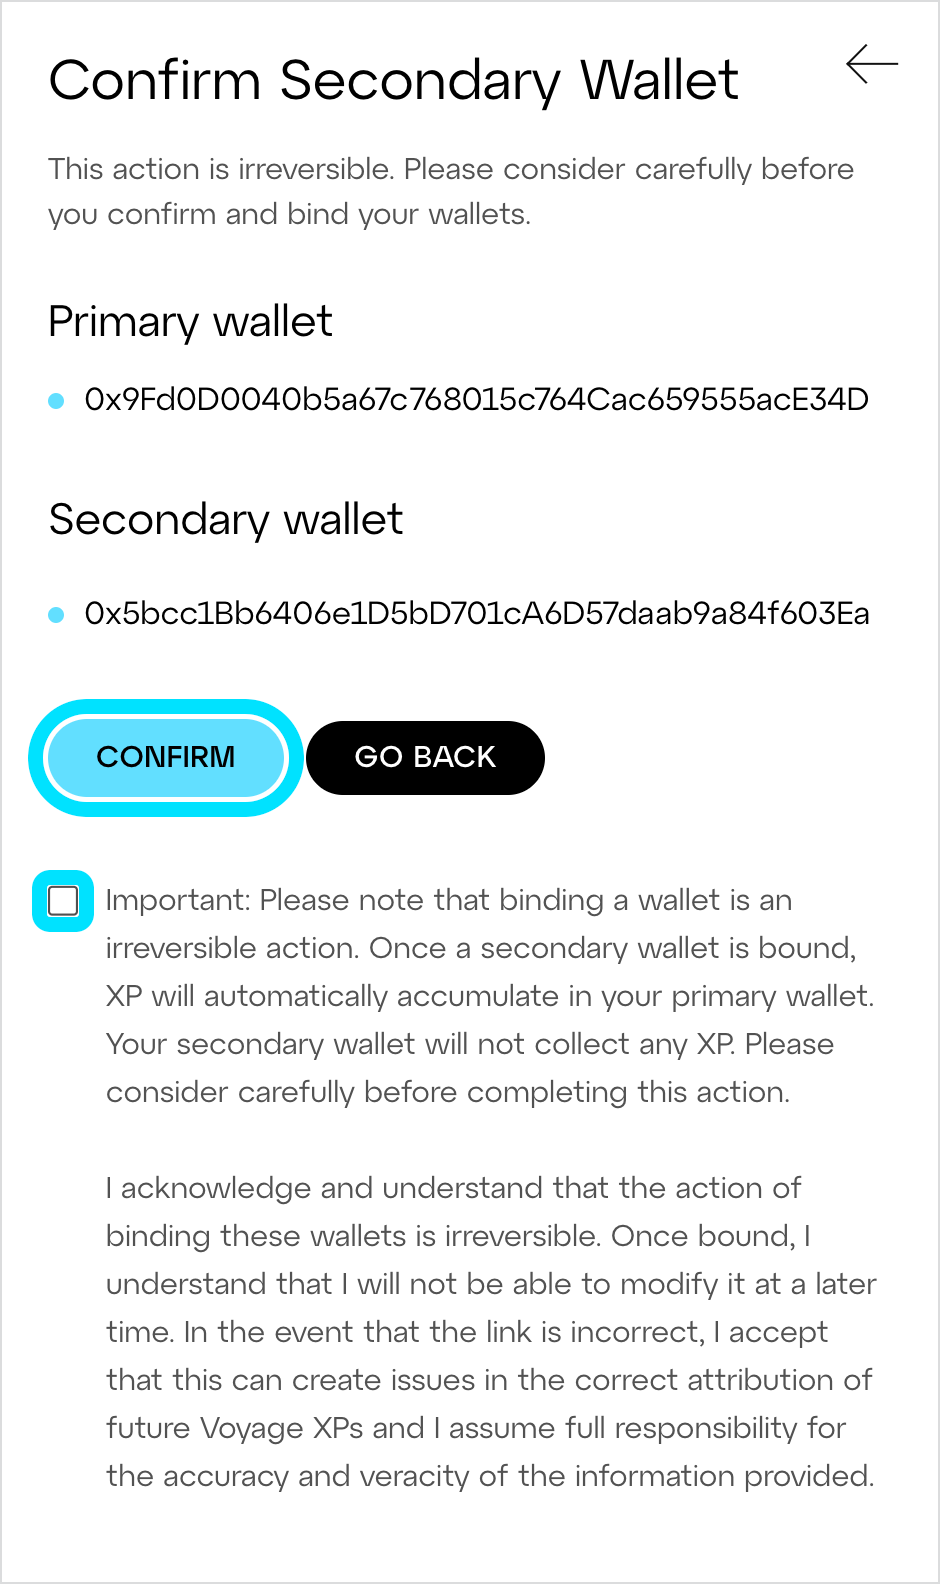
Wallet binding is permanent and irreversible, so make sure you are choosing the correct wallet address when going through the process!
To start the wallet binding process, follow the steps below:
- Go here
- Connect your wallet in the top-right corner of the page
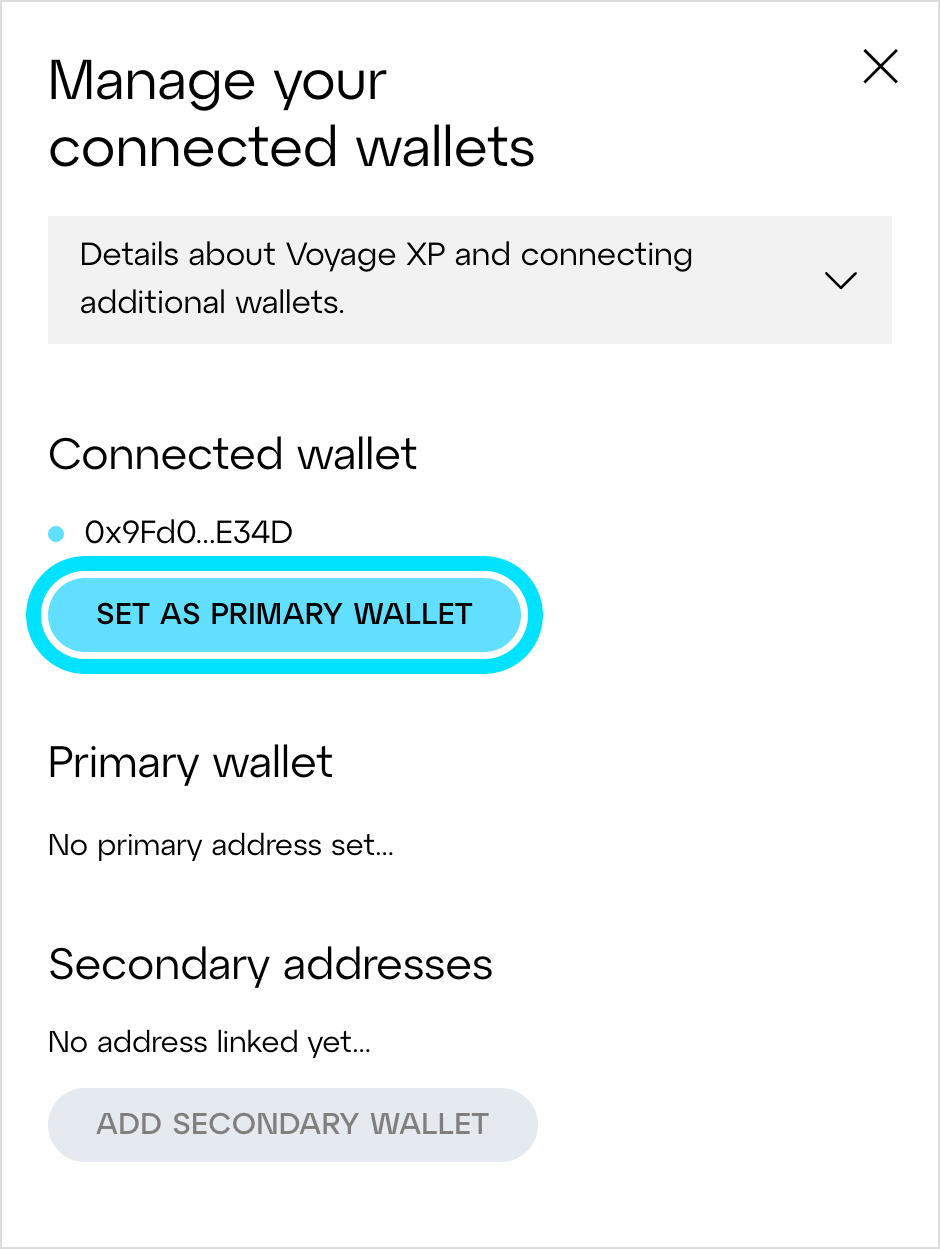
- Click on the address of your currently selected account to open a dropdown menu. Here, click "Manage Wallet(s)"

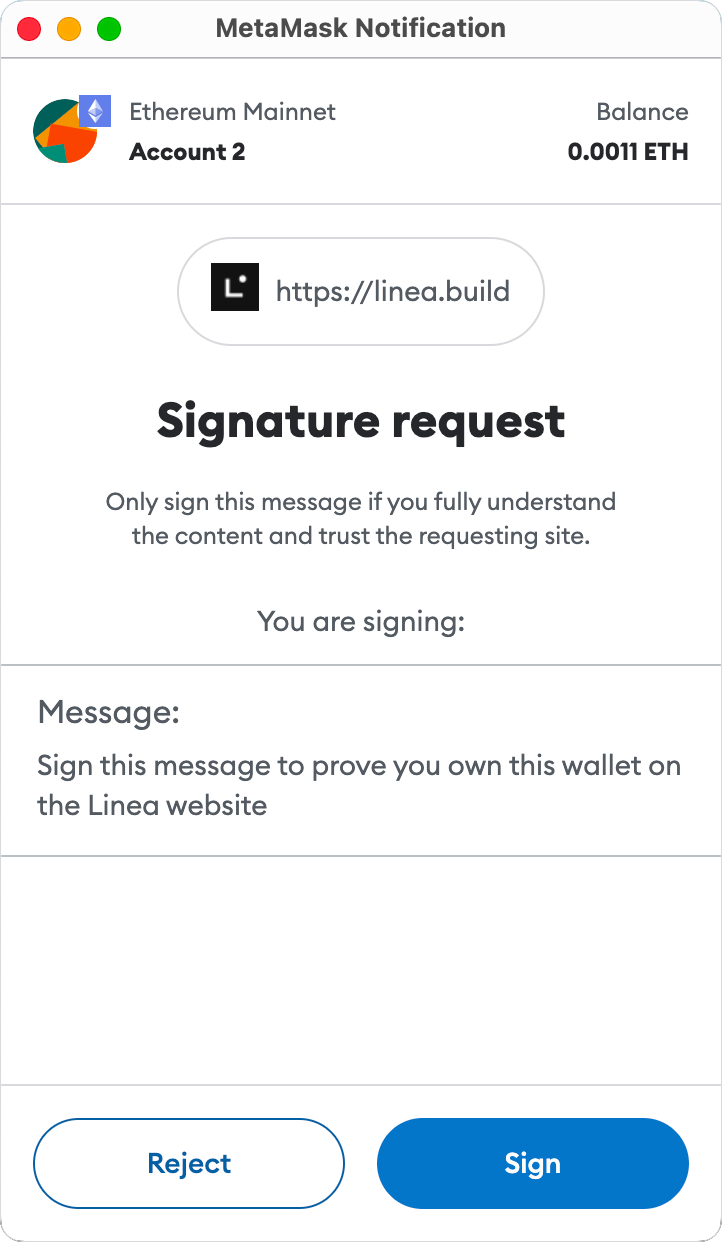
- Sign the signature request

- Select "Set as Primary Wallet"

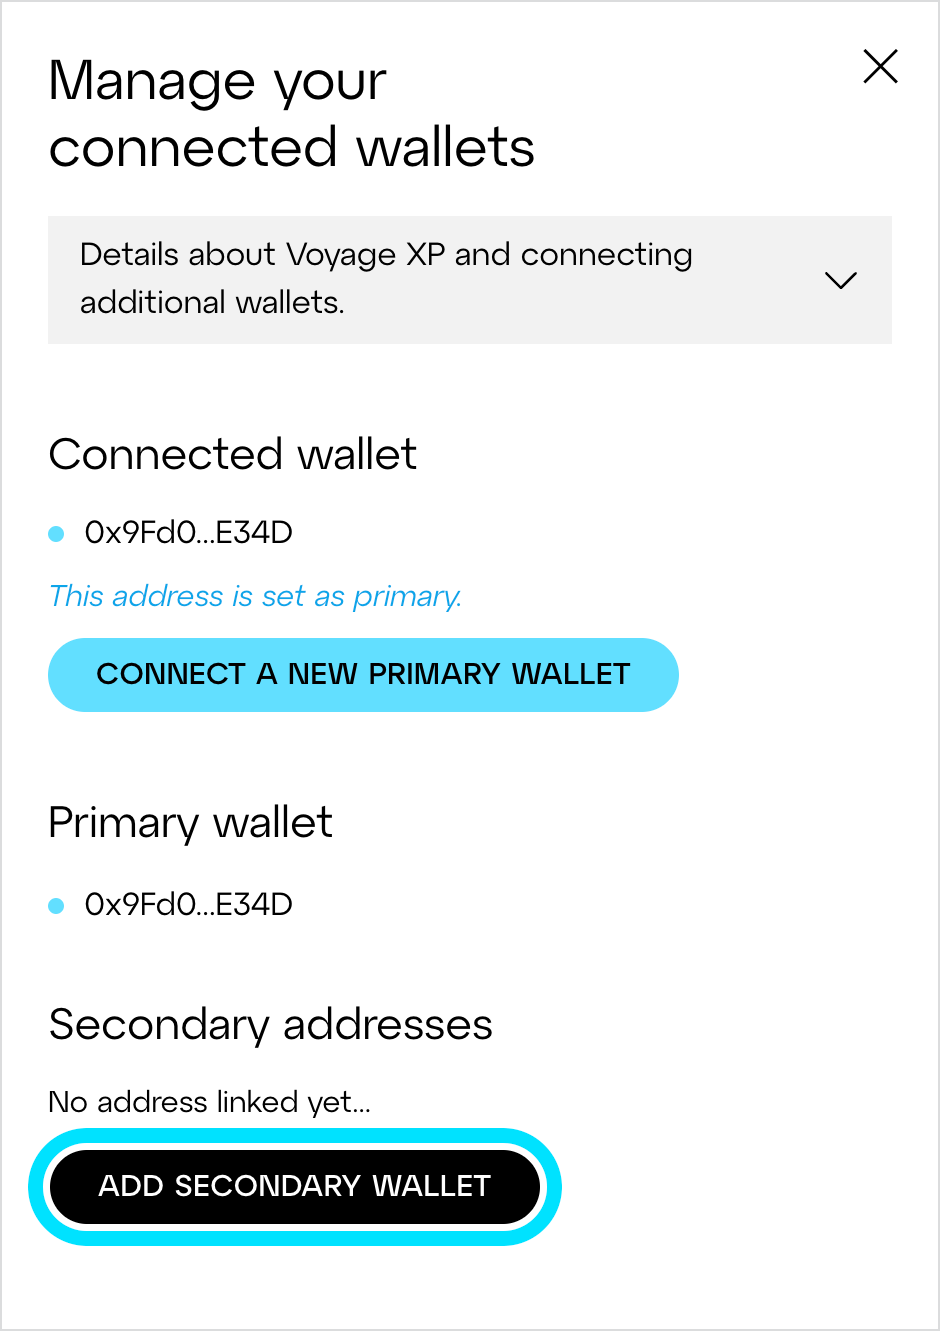
- Select "Add secondary wallet"

- Follow the prompts to connect your wallet you want to bind and sign the signature request.
- Read through the disclaimer, check the box, and hit confirm to finish the binding process
